Taking Screenshots/Screen recording
If you face any errors while using the plugin, a screenshot/screen recording becomes quite handy for the support team to exactly get to the issue. It also reduces the to and fro communication and resolves your queries quickly.
Highlighting errors and screenshot extensions
For example, if you find any error (blank screen, missing data, broken images, button not working, plugin functionality or feature not working…) on the screen while using the plugin, take a screenshot of that error or configuration and send it to the support team. You can also send us a screen recording for the same.
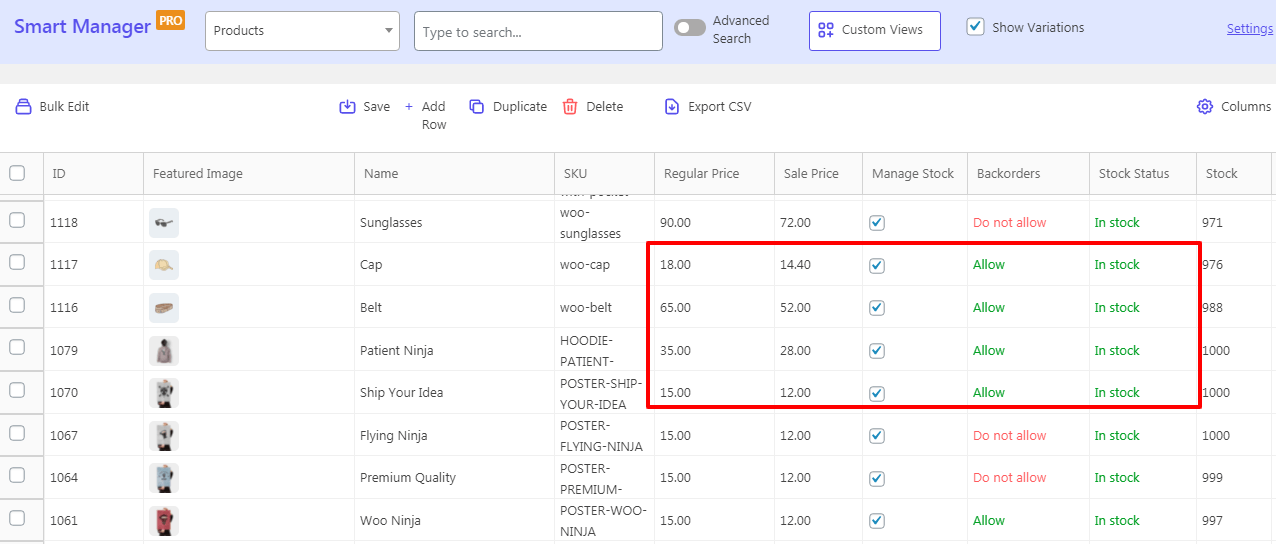
Better, try to highlight the error using specific colors, arrows or pointers if there are too many elements on the page. This will make the error more clear for the support team to understand.
You can also use the below extensions to annotate (highlight, crop, blur…) any saved image on your device to make the screenshot more clear.
- If you are using a Chrome browser, you can use the Awesome Screenshot extension to take screenshots.
- For Firefox, we recommend using the FireShot extension.
- For Safari, you can use the Awesome Screenshot extension.
Refer to the below image for example.
How to take screenshots on different OS without extensions?
If you don’t want to use an extension, you can use the keyboard commands or the in-built tools to take a screenshot.
Windows
- Press the Print Screen key (“PrtScn” or “Print Screen”) to capture the image.
- Open any image editor like Paint, GIMP, Photoshop. Open Snipping Tool and take a screenshot.
- Create a new image, and press CTRL + V to paste the screenshot.
- Save the image as a JPG, PNG, or GIF file.
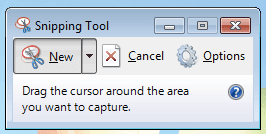
You can also use the in-built Snipping Tool to take the screenshot. Here’s how.
Mac
- Press CMD + Shift + 3 to save your entire screen as a screenshot.
- Press CMD + Shift + 4 to save a particular area for a screenshot.
Linux
- Press the Print Screen key (“PrtScn” or “Print Screen”) to capture the image.
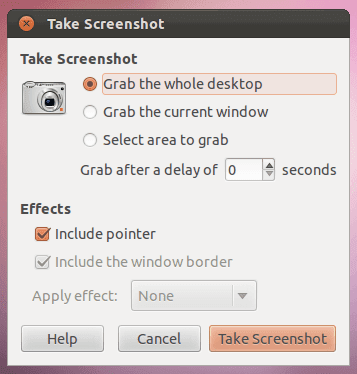
- Alternatively, go to Applications –> Accessories –> Take Screenshot.
- Save the image as a JPG, PNG, or GIF file.
Android Phone or Tablet
- For the majority of Android devices, press and hold down the power and Volume-Down buttons together for a few seconds.
- For Android devices with a physical Home button, press and hold the Home and volume-down buttons together for a few seconds.
- Access your screenshots from your device Gallery to further edit, delete or share them.
iPhone, iPad, or iPod touch
Here’s a nice guide by WordPress with images to capture screenshots on these devices.
Chromebook
Refer this guide to capture screenshot on this device.
Sharing your screenshot
You can share your screenshot in two ways:
- Attach the image to the email and send it to the support.
- In case of multiple screenshots, upload the image to a third-party service like DropBox, Google Drive, CloudApp or others and then share the image link from that service with the support.
Taking and sharing screen recording
Instead of screenshots, you can also record a quick video/screen recording of your error and send it to the support team.
If you are using a Chrome browser, you can use the Awesome Screenshot extension to take screen recordings.
Other video extensions you can use are Loom, ScreenRecorder, CloudApp or any other tool you may know or are currently using.
For Mac users, you can use Loom, CloudApp, Screenshot or QuickTime player to make a video recording of the entire screen or just a selected portion of it.
Upload the video to a third-party service like DropBox, Google Drive or others and share the video link with the support.